Visualization#
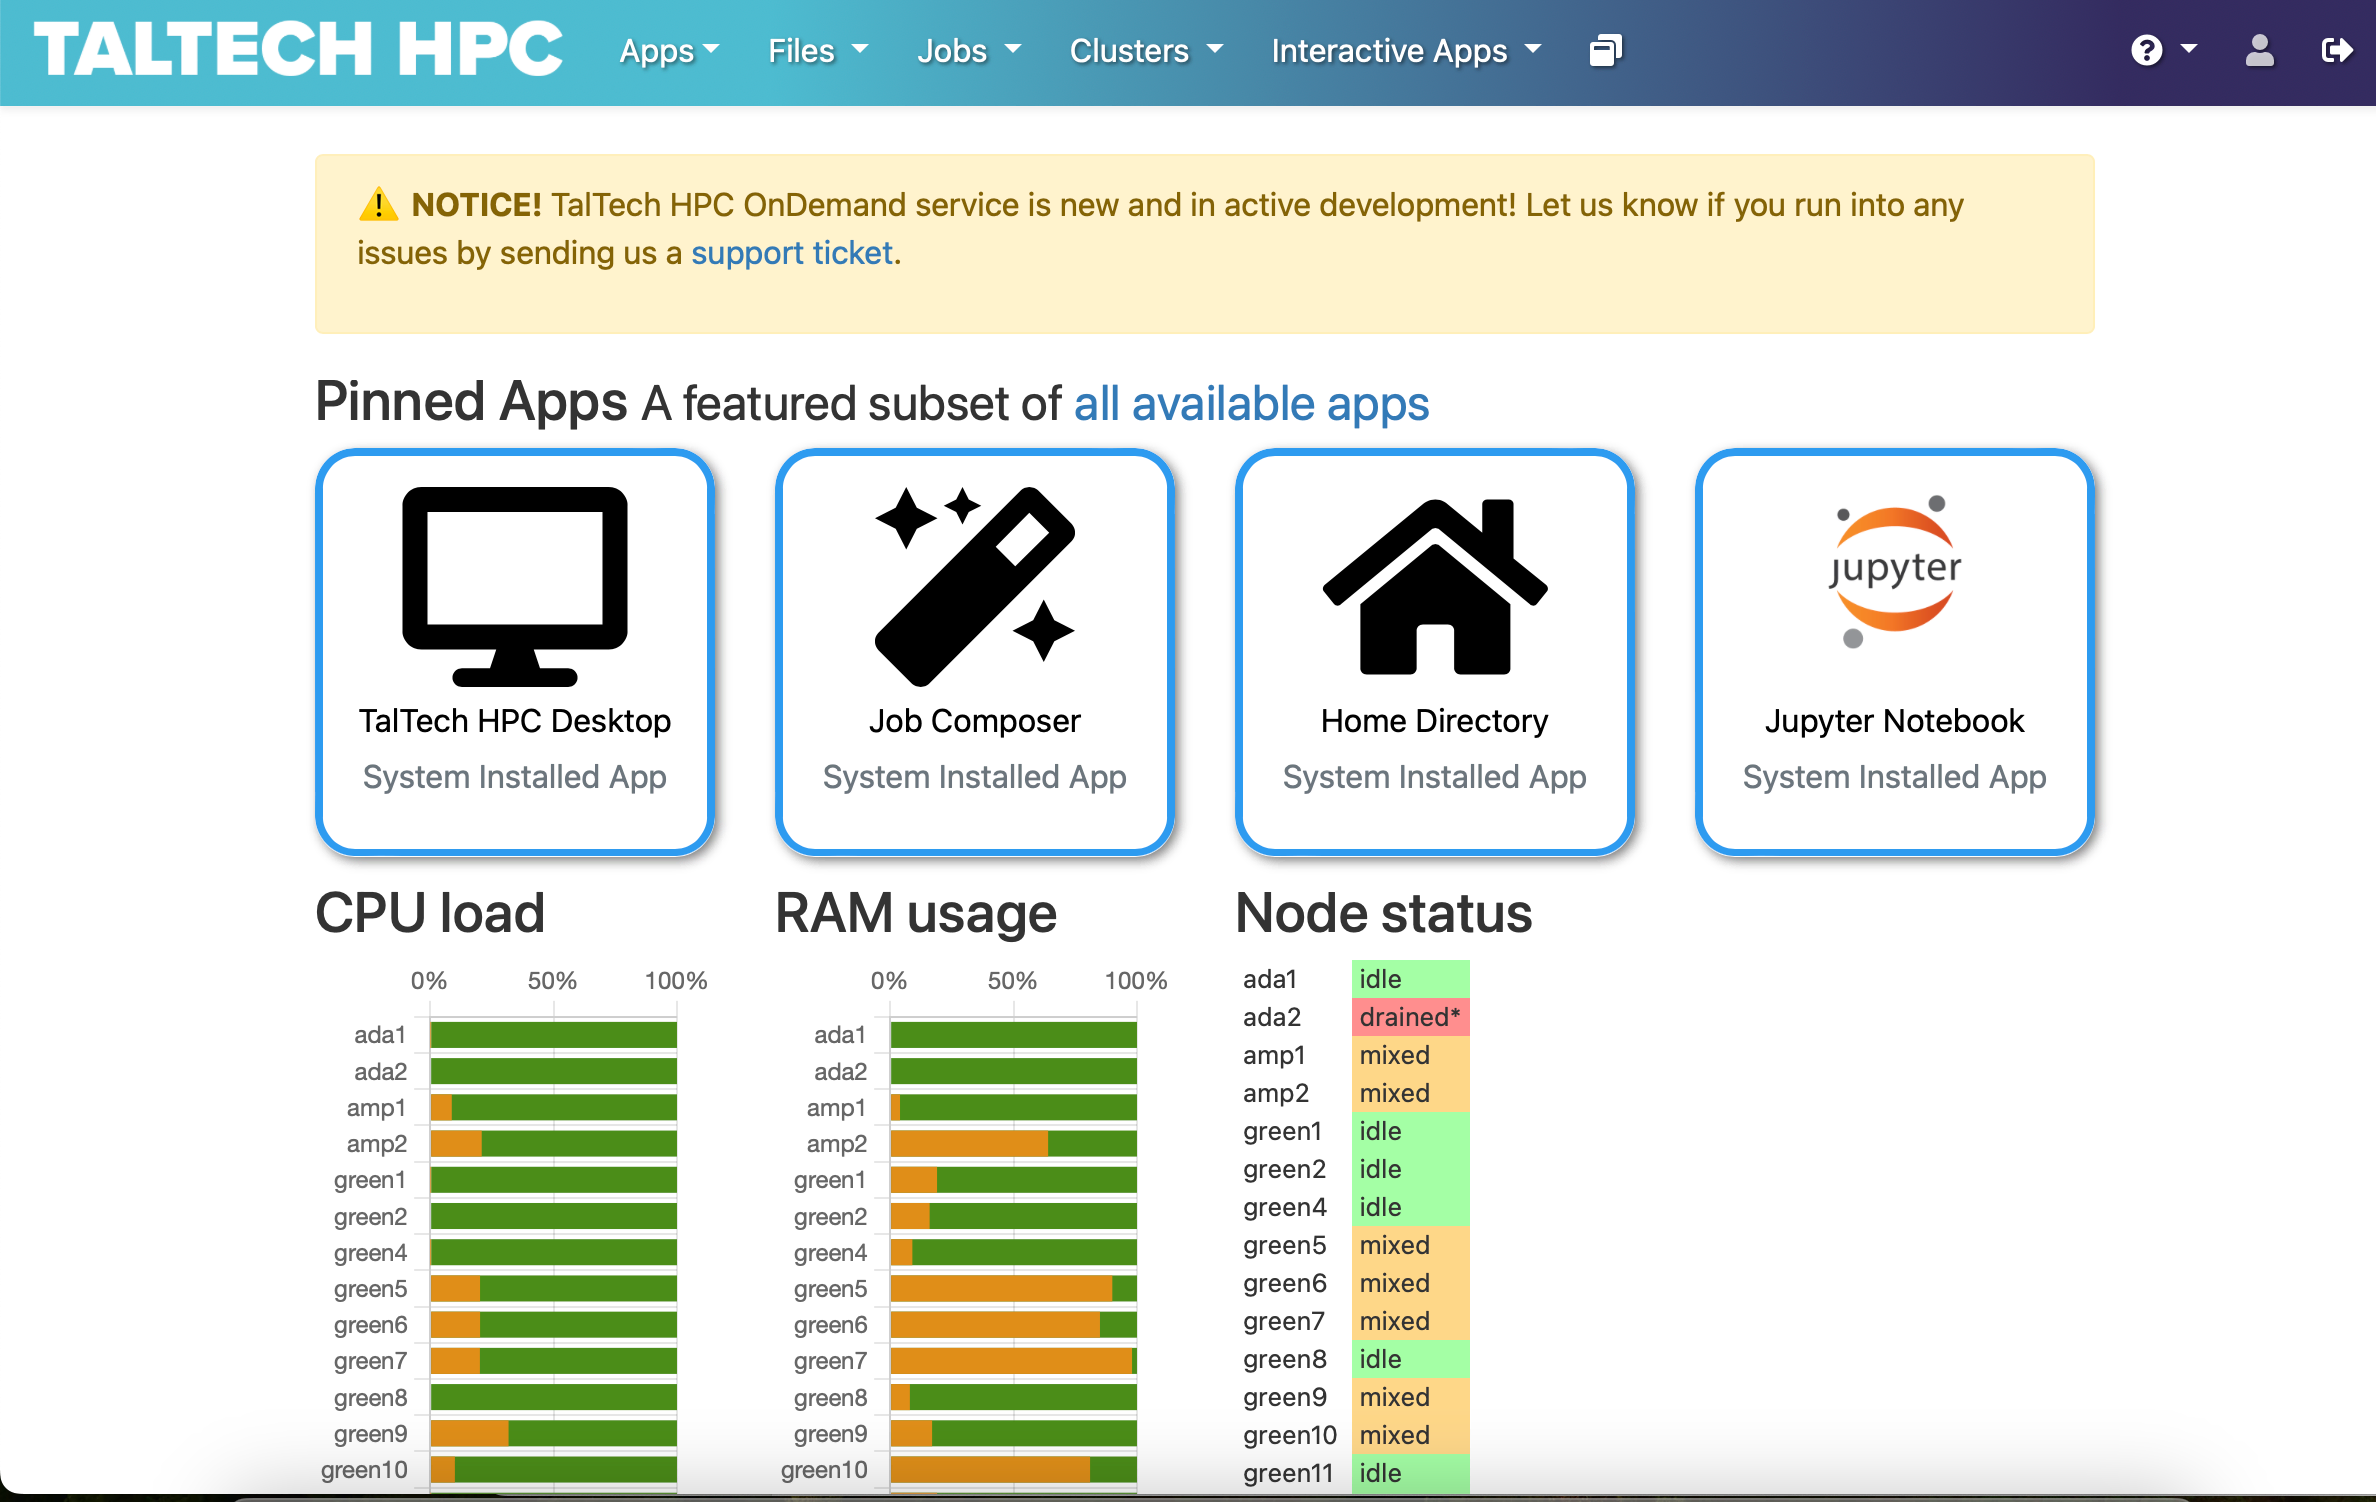
The recommended way of doing visualizations is now using the desktop session on ondemand.hpc.taltech.ee.
OnDemand is a graphical user interface that allows access to HPC via a web browser. The default desktop environment is xfce, which is configurable, lightweight and fast.
The menu only contain very few programs from the operating system. However, all installed software can be opened from an XTerminal using the module system as you would from the command-line.
OnDemand Desktop on any node and CPU#
More information can be found at OnDemand page.
Available visualization software on compute nodes#
Program from a list below and its environment can be loaded by:
module load rocky8-spack
module load <program name>
where program must be written in lowercase letters
- ParaView
- VisIt
- Py-MayaVi
- Molden
- VMD
- Ovito
- Ospray (raytracer)
- PoVray (raytracer)
Programs are run by corresponding names in lowercase letters: paraview / visit / vmd.
GaussView & Avogadro#
GaussView can be started by commands:
To run Avogadro:
3D Slicer#
Visualization and processing of medical images (CT, MRI)
OnDemand Desktop on GPU nodes (hardware rendering)#
Requires of course to be submitted to a GPU node and a GPU to be reserved. The nodes are configured in a way that requires EGL rendering, and therefore may require other modules to be loaded (e.g. ParaView).
Otherwise the Desktop works as the regular (software rendering) one, see above.
Please note that for most applications software rendering is fast enough, only heavy visulalization, like volume visualization in ParaView, COVISE, VisIt, VMD, Star-CCM+ and Ansys may require the GPU rendering.
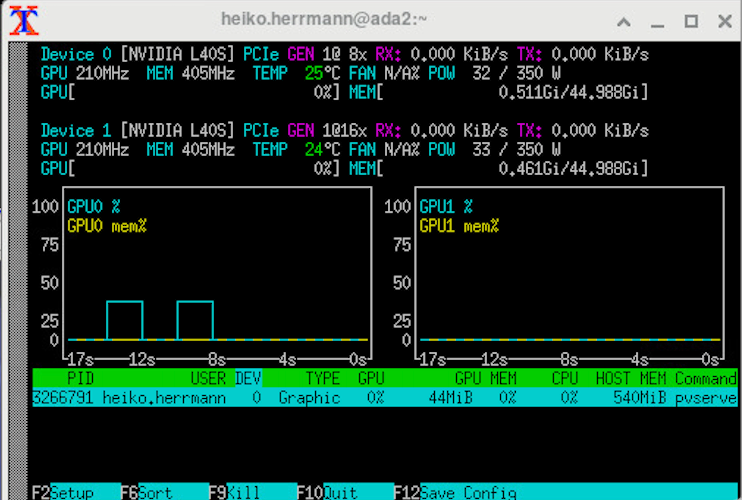
Check using nvtop that your application actually uses the GPU!!!
OpenGL applications using a wrapper#
It is possible to make most OpenGL applications use EGL hardware rendering by using VirtualGL and pointing it to the correct device. This is made easier by using our eglrun or eglwrap, which set the device automatically.
Here an example for ParaView (an alternative way is described in the next section):
and for VMD
ParaView with EGL acceleration (without wrapper)#
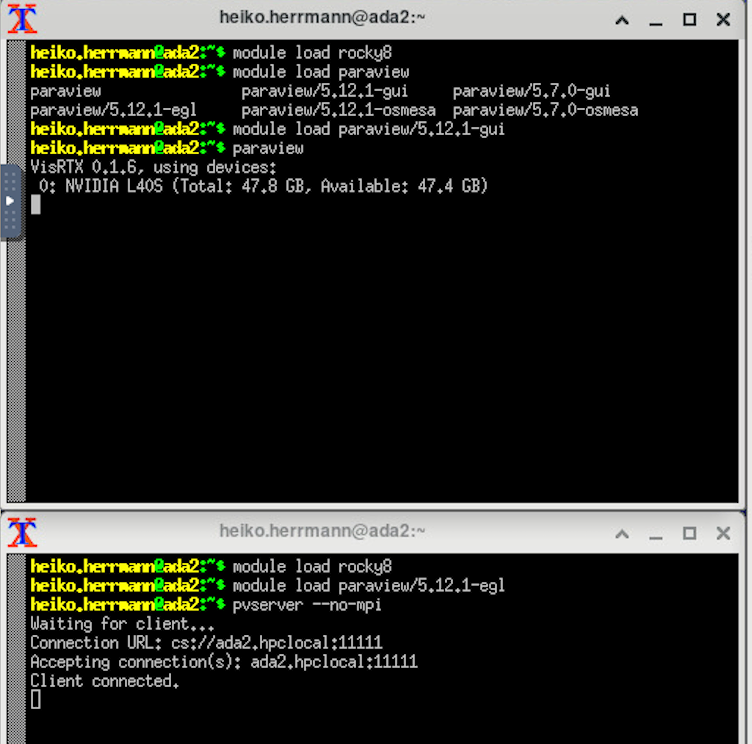
It is not possible to have EGL rendering and the OpenGL GUI compiled together, therefore the EGL accelerated pvserver and the OpenGL GUI come from different modules and can run on different compute nodes.
The startup procedure for EGL accelerated rendering is the same as for use of ParaView in distributed mode:
- Start an OnDemand desktop on a GPU node and request a GPU.
- Open 2 XTerms.
-
In Xterm 1 start the ParaView GUI:
-
In Xterm 2 start the ParaView server:
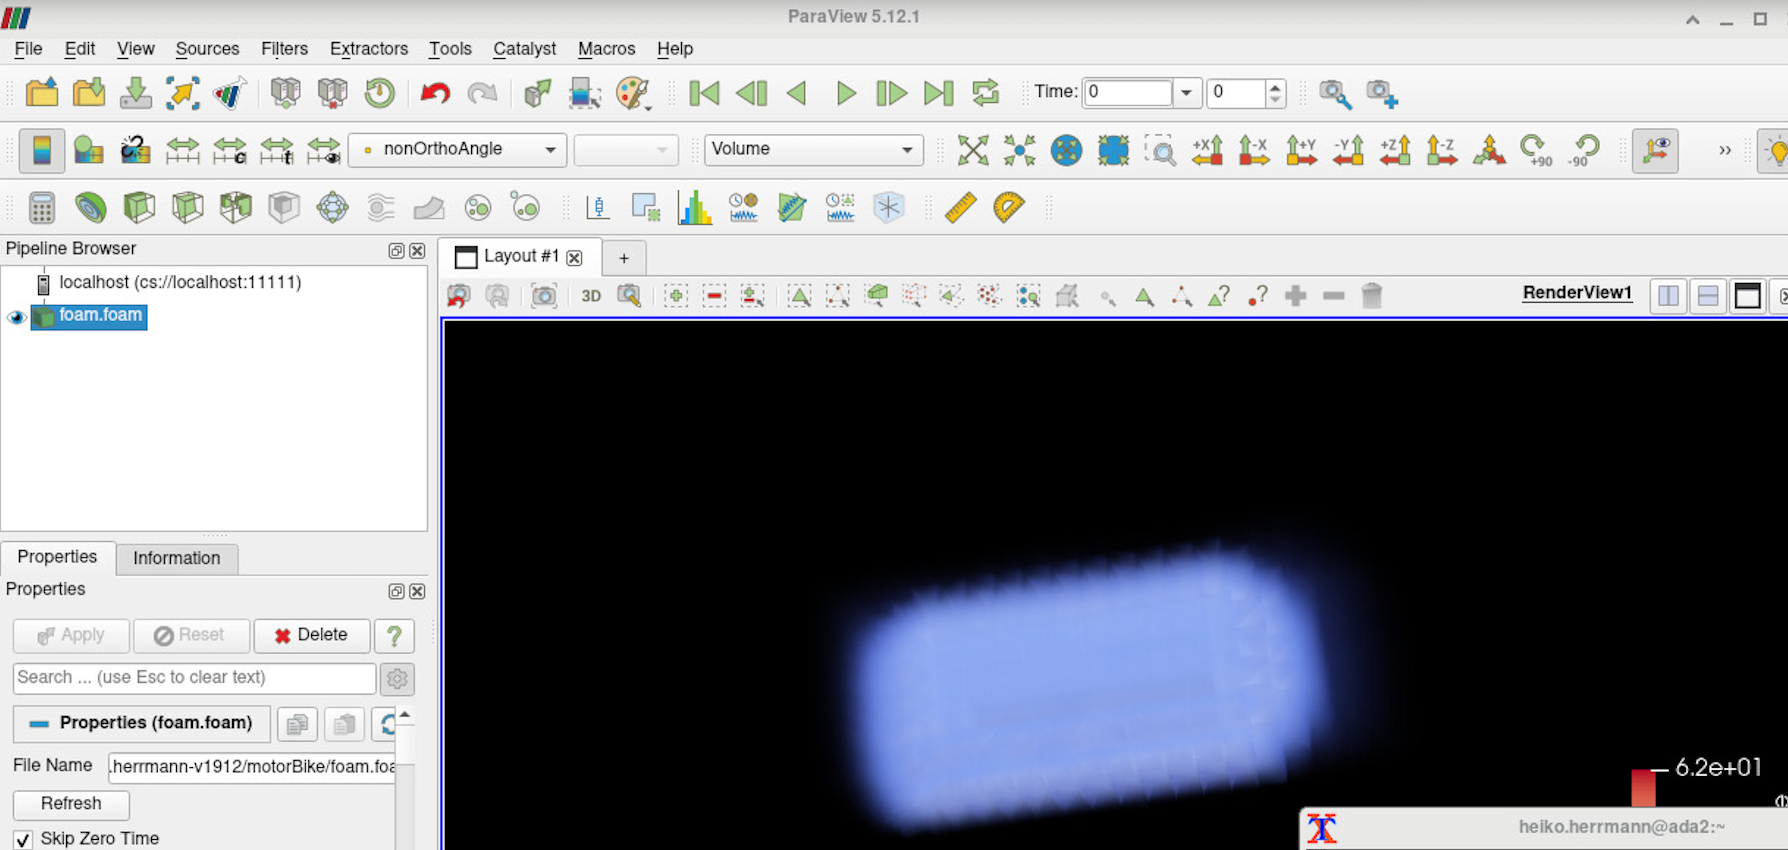
(alternatively, you could ssh into base and start a separate job on a gpu node with srun or sbatch) in GUI select "Connect" and connect to either localhost:11111 or the gpu node the pvserver runs on, use "manual" connect, then choose "connect".
-
In Xterm 3 run
nvtopto check if your application actually uses the GPU:
A similar procedure can also be used to connect a client running on your desktop computer to the pvserver on the compute node.
For more explanations, see ParaView WIKI.
StarCCM+ with hardware rendering#
vglrun starccm+ -clientldpreload /usr/lib64/libvglfaker.so -graphics native -rgpu auto -power -fabric TCP -podkey $YOURPODKEY ...
In-situ visualization (in preparation)#
In-situ visualization creates the visualization during the simulation instead of during the postprocesssing phase. The simulation code needs to be connected to in-situ visualization libraries. e.g. Catalyst (ParaView), LibSim (VisIt) and Ascent.
The following are installed on our cluster:
Ascent on all nodes:
Catalyst on all nodes:
Catalyst can be used within OpenFOAM and NEK5000 simulations.


